
Alloy is a software modeling tool. This post offers a brief tutorial on installing and running the Alloy software modeling tool. My preferred method of using Alloy is via the Visual Studio Code IDE and the Alloy plug-in. Visual Studio Code is an excellent general purpose development environment with rich support for many different programming languages. It has a large repository of plug-ins to support a wide variety of applications. Toward the bottom of this post I briefly describe the steps to run the native Alloy application.
Alloy (native or via VS Code) requires the Java Runtime Environment. If Java is not installed on your computer, install it from the Java website. You may have to reboot after this installation for the environment variables to take affect. If Alloy doesn't run in the subsequent steps, it may be an issue with the Java installation.
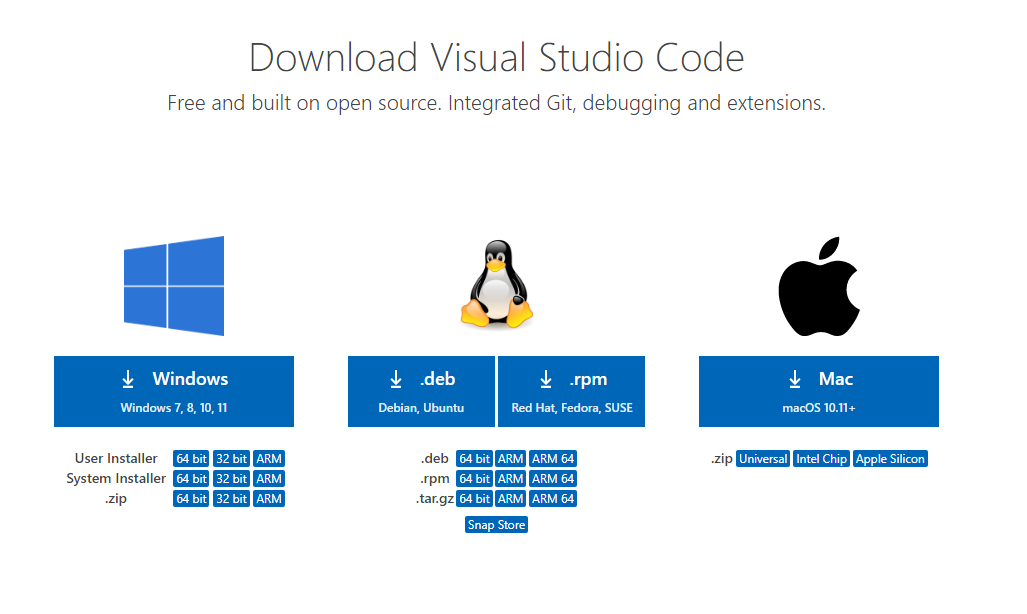
First install Visual Studio Code by downloading it from the Visual Studio Code website.
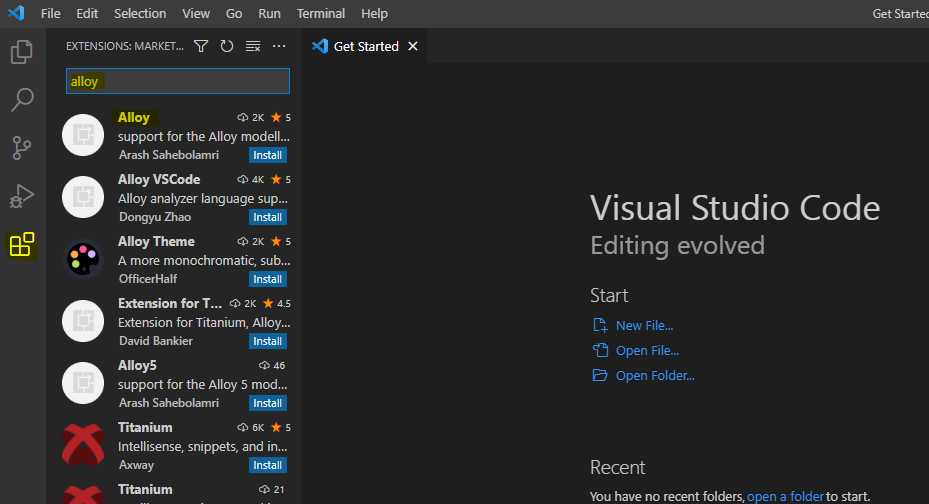
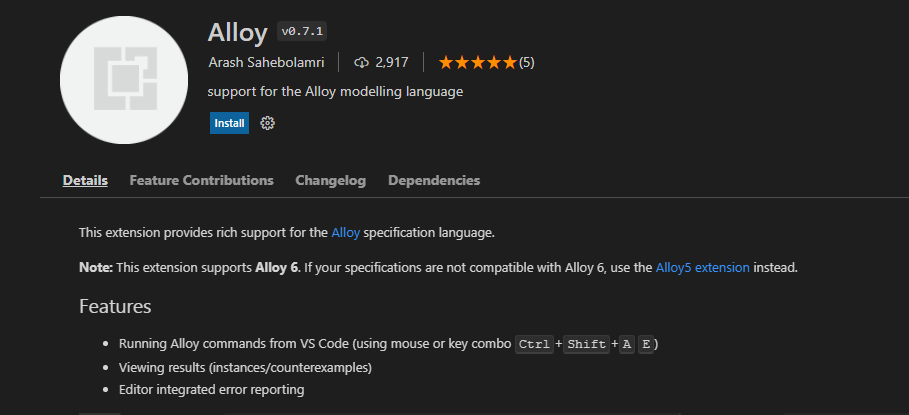
Next, open VS Code and click on the "Extensions" button on the left-hand side. Search for and install the "Alloy" extension. After it is installed, you may be prompted to reload VS Code.
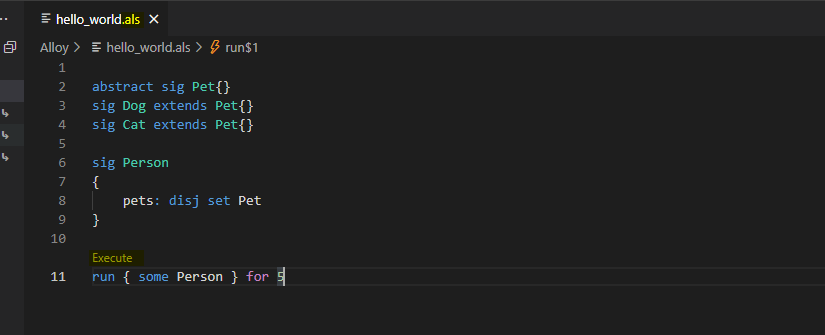
Next, create a file with the Alloy file extension, .als. The following Alloy model is an example to get started with.
abstract sig Pet{}
sig Dog extends Pet{}
sig Cat extends Pet{}

sig Person
{
    pets: disj set Pet
}

run { some Person } for 3
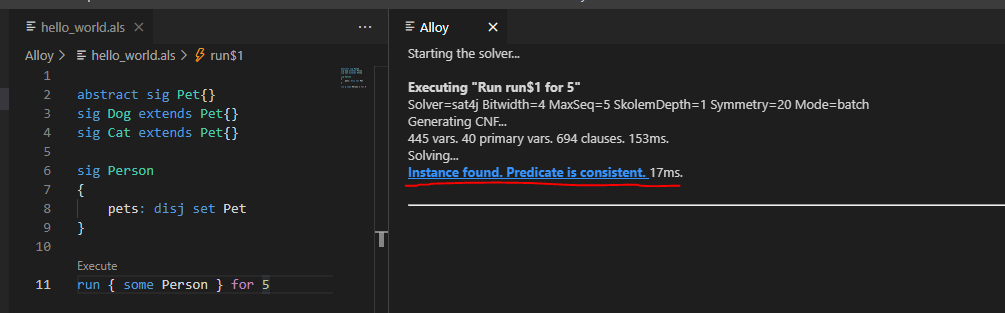
Once you have saved the file, you'll see a small Execute button above the run line. Clicking this button will execute Alloy.
After you've run the model, a new tab will open with the output from Alloy. The link in this output will open the Alloy visualizer tool. This output may contain other information depending on what you are executing; for example, when checking assertions it reports if a counterexample was found or not.
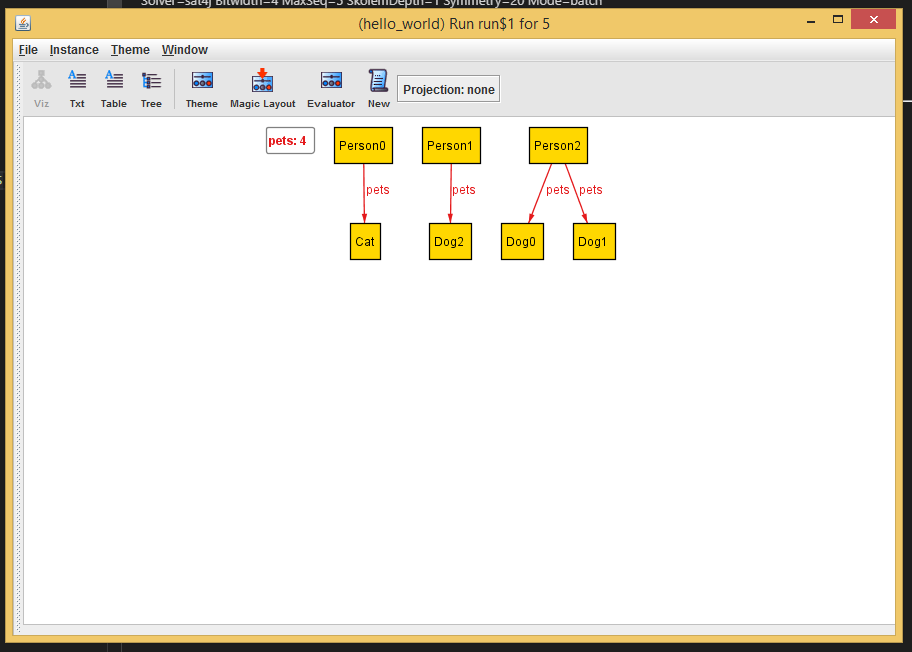
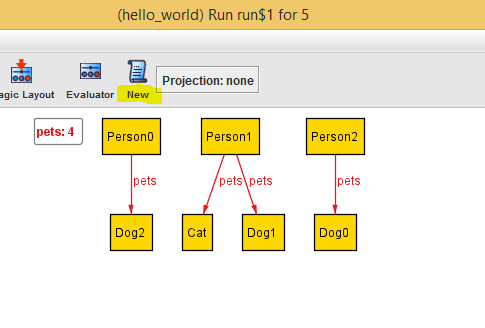
The visualizer shows one instance that satisfies the provided model. Atoms in the model are represented as boxes and relationships are represented as connective arrows. Clicking the New button at the top of the window will generate a new instance of the model (if one exists). This can be done repeatedly depending on how many solutions Alloy is able to generate for the model.
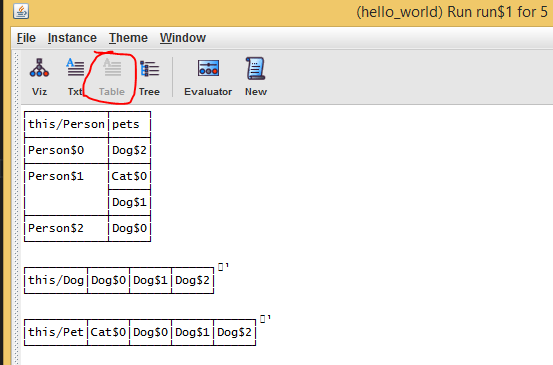
The buttons at the top of the window provide different ways of expressing the model. For example, the Table button shows the model in tabular form. There are also text and tree representations available.
The Visualizer tool contains an evaluation tool that can be opened by clicking the Evaluator button at the top of the window.
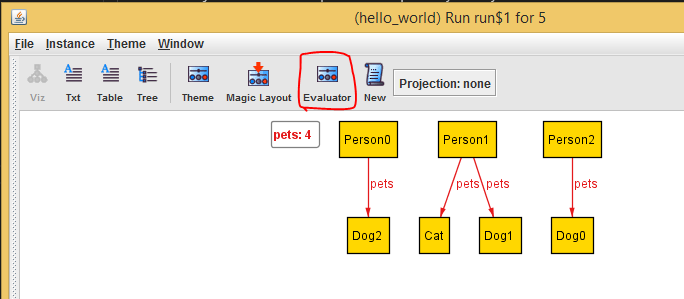
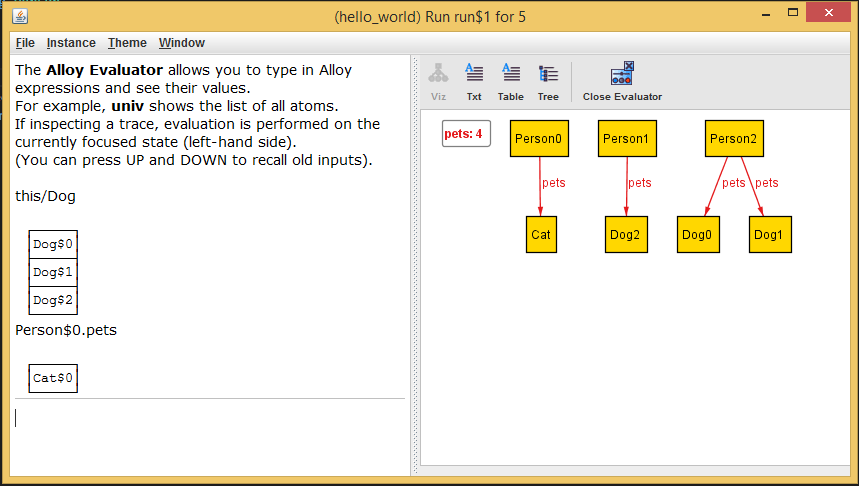
The evaluator window allows you to execute commands/functions/predicates/etc. against the current instance of the model. For example, in the following image the command this/Dog lists the Dog atoms. Executing Person$0.pets returns the set of Pet atoms in Person0. The Atom names are visible in the tabular view, or by executing the univ command to view the universe of atoms.
"Projections" in Alloy allow you to view the model projected over a specific class of atom. The Projection button is at the top of the window.
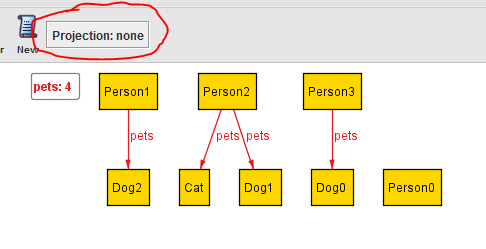
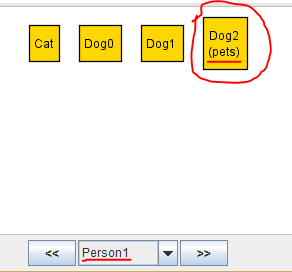
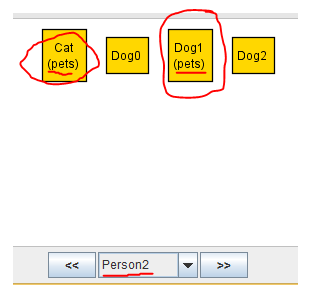
In this example, projecting the model over the Person class shows the pets relationship from the perspective of each person. Notice in the images below, the current atom is shown in the bottom of the window. The projection of the model is visible in the main window. Clicking the << or >> will switch between atoms in the projected view. In this example,
notice that when Person 2 is selected, the pets set shows Dog 1 and Cat, and when Person 1 is selected, the pets set shows Dog 2. This matches the relationships shown in the non-projected model, i.e. when the perspective of Person 2 is selected, the model shows Person 2's pets, and so on.
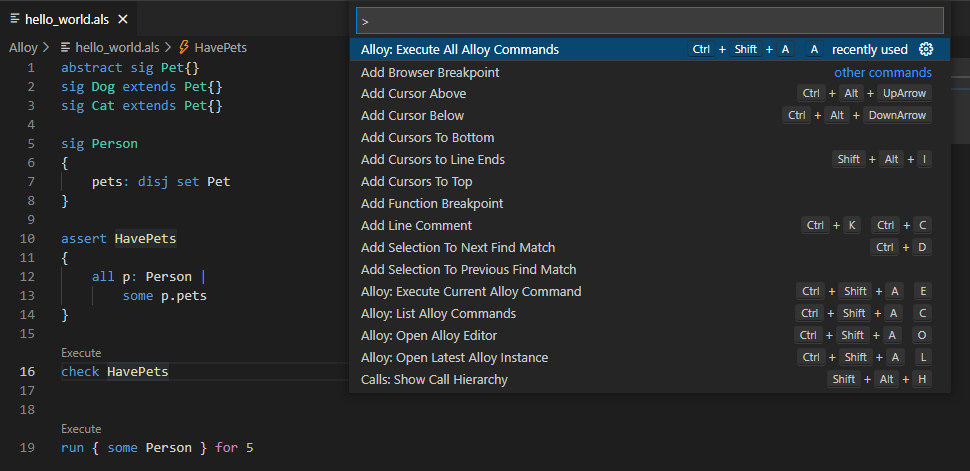
Close the visualizer window and return to VS Code. Notice that if you execute Alloy again, a new result will appear in the results tab. Clicking this link will open another instance of the Visualizer for the given run. Alloy models can have multiple executable commands in one file. Each will have an Execute button above it. These can be run individually or the entire model can be executing. The keyboard shortcut ctrl + shift + p (on windows and Linux) will open the VS Code command palette. Typing "alloy" will bring up the "Execute All Alloy Commands" command. Alternatively, this can be called directly with ctrl + shift + a followed by a.
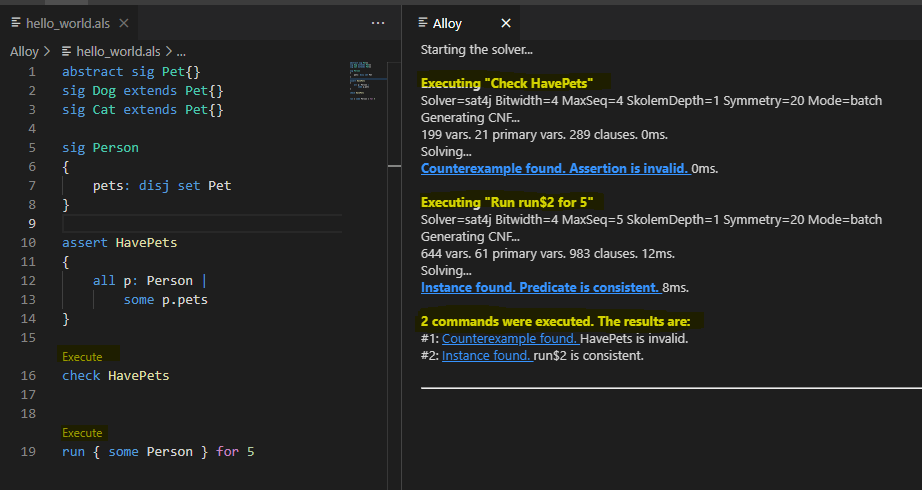
This will execute Alloy with all commands in the model at the same time. Notice in the image below there is both a run and check command. After running all, the output from both commands is shown, followed by a summary.
I prefer to use Visual Studio Code for Alloy because it a feature rich editor that I use for many other things. However, Alloy can be installed and run directly. First, visit the Alloy website download page.
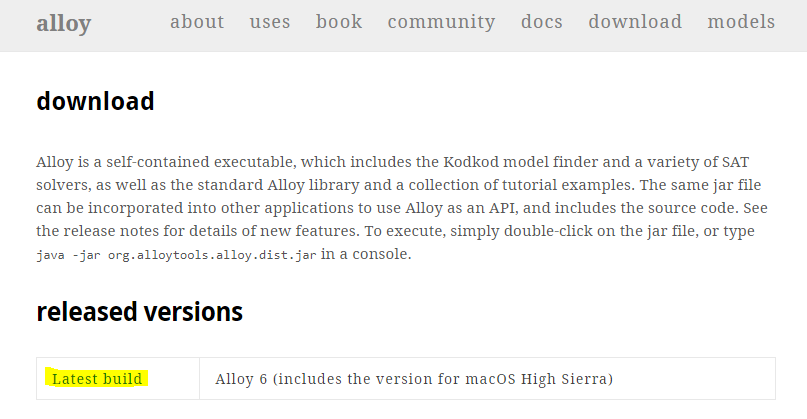
Next, click the link for the latest build. This will take you to the Alloy Github page. Download the Java .jar file.
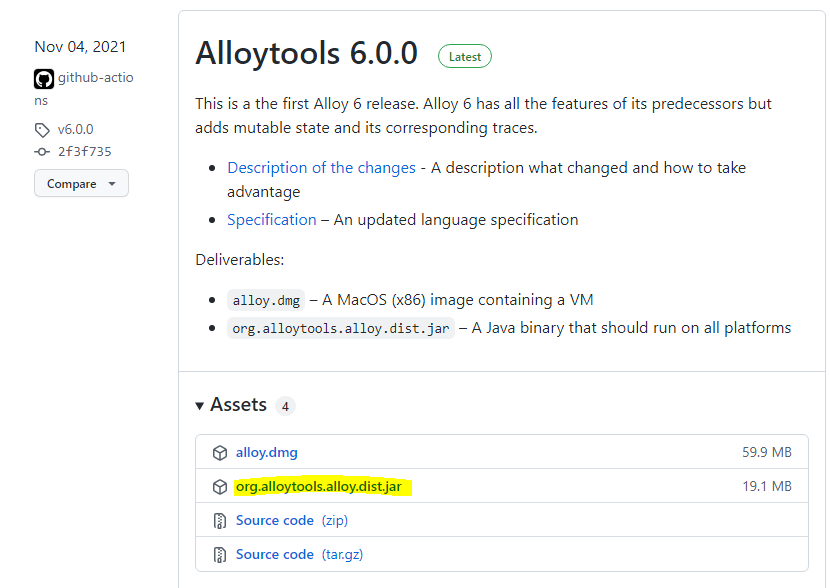
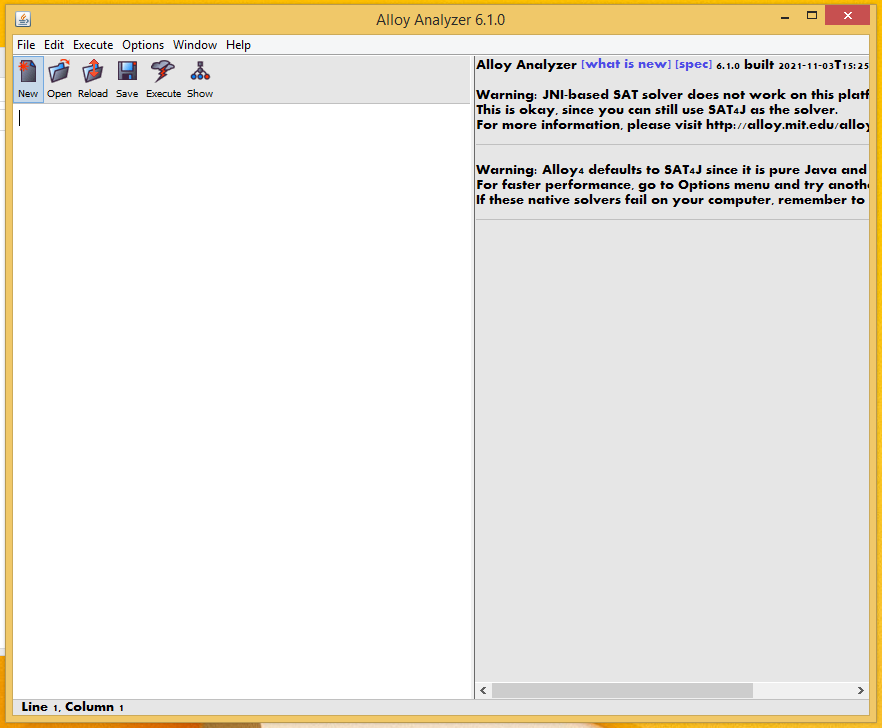
This jar file can be run directly by double clicking on it. This will open the native Alloy editor window.
This was a brief tutorial on getting started with the Alloy toolset in my preferred mode. I intend to post some introductory tutorials describing how to actually use Alloy in the near future.