
I was working on a project that required writing a Linux device driver. I chose to do this on a Beaglebone Black, an inexpensive single board Linux computer. The first step was to set up an environment to build a custom kernel and device tree. This write-up describes that process.
The board I am using can be found here.
I am developing on a windows machine using a Linux virtual machine in Oracle VirtualBox. If you are developing directly on a Linux machine or some other platform not all of these instructions will be applicable. The first step is to follow the beaglbone quick start guide to boot the board. To summarize:
Download the official beaglebone image from the beagleboard website.
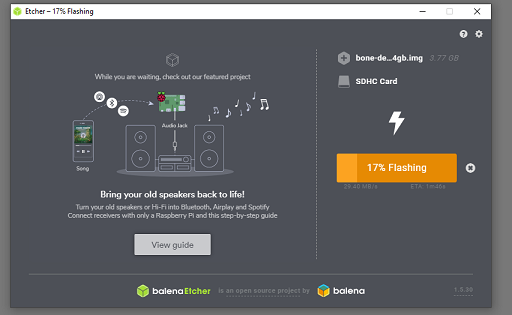
Use BalenaEtcher to flash an SD card with the image.
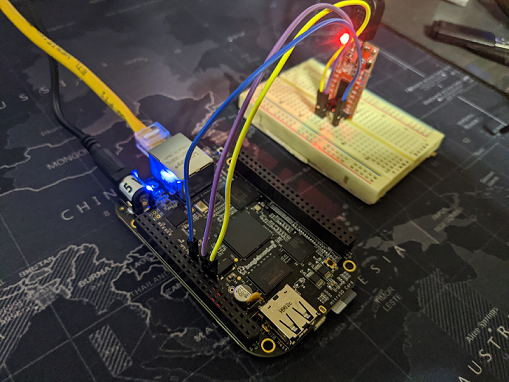
Connect to the Beaglebone using a breadboard and USB serial adapter like this one, connected to the serial header on the Beaglebone black. The connector is next to the 48 pin connector on the power supply jack side of the board:
Pin 1 (closest to power supply side): Ground
Pin 4: RX
Pin 5: TX
I connected to the Beaglebone through a router, so I configured my VM with a bridged network adapter and created a DHCP reservation so it's IP address does not change. I did the same for the beaglebone.
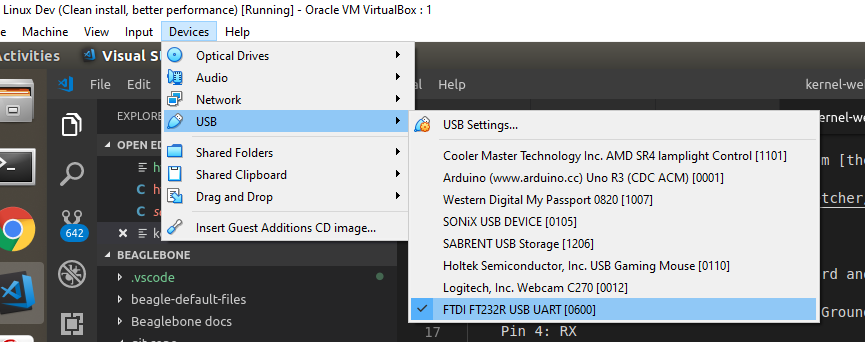
Attach the USB serial adapter to the VM.
On the VM, install the packages needed for the kernel build process:
sudo apt-get install gcc-arm-linux-gnueabi qt5-default g++ pkg-config libssl-dev flex bison picocom git
In a terminal window, connect to the Beaglebone. /dev/ttyUSB0 here is the USB serial adapter. Connect to the board with Picocom:
sudo picocom -b 115200 /dev/ttyUSB0
(ctrl a ctrl x to exit)
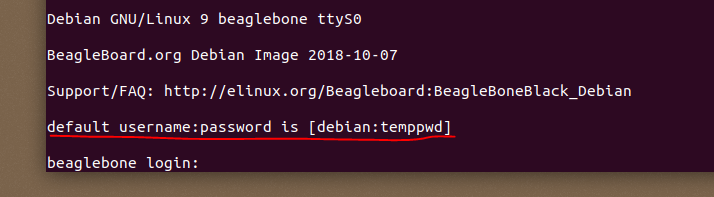
Log in with the default credentials printed in the terminal window and create a new user account:
sudo adduser alex
(use the default credentials for sudo)
Add the new user to the sudo group:
sudo usermod -aG sudo alex
An optional step for convenience is to modify the sudoers file so the new user account doesn't require a password to use sudo. Obviously this is insecure.
sudo visudo
added line:
alex ALL=(ALL) NOPASSWD: ALL
Ctlr x + y + enter to save.
Back on the Linux VM, create an SSH key pair (or use an existing one):
ssh-kegen -t rsa
Use SCP to copy the public key to the beaglebone (replacing the IP):
scp ~/.ssh/id_rsa.pub alex@192.168.0.101:~
SSH into the Beaglebone and create an authorized_keys file to set up SSH authentication:
ssh alex@192.168.0.101

mkdir .ssh
cp id_rsa.pub .ssh
cd .ssh
touch authorized_keys
cat id_rsa.pub >> authorized_keys
Back on the Linux VM, set up a host profile for the Beaglebone:
sudo vi ~/.ssh/config
Add the following lines, again replacing the IP address:
Host beagle
    HostName 192.168.0.101
    User alex
    IdentityFile ~/.ssh/id_rsa
Now it is possible to log in to the Beaglebone with:
ssh beagle
On the Linux VM, clone the Beaglebone Linux kernel:
git clone git://github.com/beagleboard/Linux.git
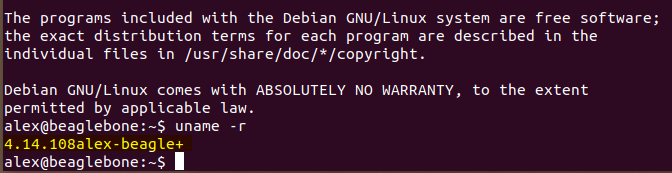
On the Beaglebone, obtain the version of the existing kernel:
uname -r

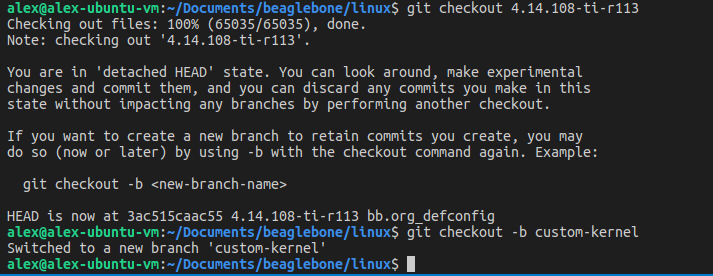
The output of this command is the tag name to check out in the Beaglebone repository. Back on the VM:
git checkout <version>
Create a new branch for your kernel development:
git checkout -b custom-kernel
The ARCH and CROSS_COMPILE environment variables need to be set. They can be passed on the command line but, for convenience, add them to your bash profile:
vi ~/.profile
export ARCH=arm
export CROSS_COMPILE=arm-Linux-gnueabi-
Change into the Linux directory and build with the default configuration:
make bb.org_defconfig
If desired, this configuration can be modified with xconfig/menuconfig etc. eg:
make xconfig
Modify the kernel version string to indicate the custom kernel, in the top-level Makefile:
EXTRAVERSION = <some version string>
Build the Linux image and device tree binaries, passing the LOADADDR parameter:
make LOADADDR=0x81000000 uImage dtbs
Using TFTP provides a quick way to load the kernel at boot time. On the VM, install a tftp server:
sudo apt-get install tftpd-hpa
Copy the vImage and device tree binary from the Linux directory to the tftp server directory (this can be scripted so it happens when you build a new kernel):
sudo cp arch/arm/boot/zImage /var/lib/tftpboot
sudo cp arch/arm/boot/dts/am335x-boneblack.dtb /var/lib/tftpboot
Reset the Beaglebone with the reset button. Then, in the Picocom window connected to the board via serial, interrupt the boot process with the space bar. Set the following U-boot environment variables and arguments (192.168.0.101 is the IP of the Beaglebone, 192.168.0.102 is the VM):
setenv ipaddr 192.168.0.101
setenv serverip 192.168.0.102
setenv bootcmd 'tftp 0x81000000 zImage; tftp 0x82000000 am335x-boneblack.dtb; bootz 0x81000000 - 0x82000000'
setenv bootargs ip=dhcp console=ttyS0,115200n8 root=/dev/mmcblk1p1 rw
saveenv
Reset the Beaglebone again. You should be able to log in via SSH or the serial terminal. Verify the kernel version shows the custom kernel version string from above:
uname -a
This setup provides a complete environment for modifying, building, deploying and testing a custom Linux kernel. In a future post, I am going to add a UART device and write a basic serial driver module to my kernel.
If you end up re-imaging your Beaglebone, you will get a host key error when attempting to SSH to it. You can fix it with the following:
ssh-keygen -R <hostname>
where <hostname> is the Beaglebone's IP address
Bootlin (a great resource for tons of Linux related development.)
Kernel Build (good tips on cross-compiling for the Beaglebone)