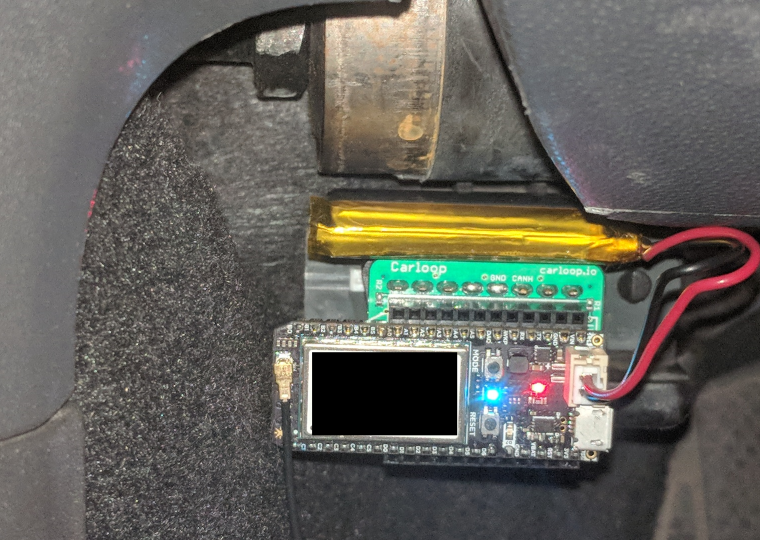
A coworker of mine gave me a Carloop.io kit. If you're like me and hadn't heard of it, Carloop.io offers an OBD-II adapter for the Particle Electron. OBD-II, or On Board Diagnostics II is a data and communication protocol standard mandated by the federal government for emissions compliance in cars and trucks manufactured after 1996. OBD-II mandates that a set of parameters be accessible for emissions testing procedures and other diagnostics. OBD-II data is accessed through a standard OBD-II port located under the dashboard on the driver's side of the vehicle. Some manufacturers include extra and sometimes proprietary data through the OBD-II protocol. In this proof-of-concept, I focused on the engine Rotations Per Minute (RPM) as an indication that the vehicle has been started. The Particle Electron is a development board with cellular connectivity built in and "cloud" infrastructure allowing easy integration with APIs and other online services. Using cellular triangulation, the Electron also provides location data of passable accuracy. Using these two functions of the Particle and the Carloop.io OBD-II adapter, I created a vehicle "alarm" system that notifies the owner of a vehicle if it is started without authorization, or if it leaves a pre-defined geo-fenced area. For fun, I added an Alexa skill to enable and disable the alarm system by voice. Had I not included the Alexa Skill portion, the Electron could have sent the notifications via cellular SMS (Text message) without the external web service. However, the web service will leave room for expansion and deep customization if I ever build off of this project.
The primary business logic for this system is handled by a Python Django REST API. The application contains three types of user-defined parameters configurable through Django's default Admin panel. The first is a fence (named after "geofence"). A fence object has a name and provides and automatically generated secret that acts as a unique identifier. In addition to the name and secret, it contains a configurable notification message to be sent out in the event that the fence is triggered.
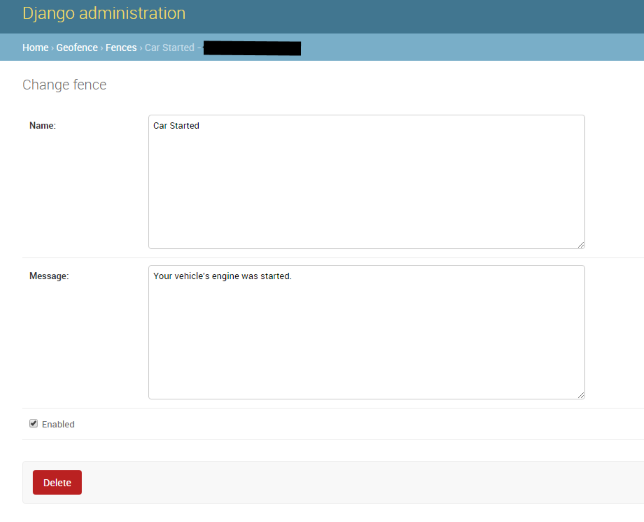
Each fence has an enabled parameter that determines if the notifications should be sent or not. If the fence is disarmed via the Alexa skill, the notifications will not be sent. Fences are members of the next type of object, a fence group. Like a fence, each fence group has a secret. This is used by the Alexa skill to enable and disable fences in groups. For example, my car contains two fences, one for the engine starting and a position based geofence. Both can be enabled or disabled via the "car" fence group.
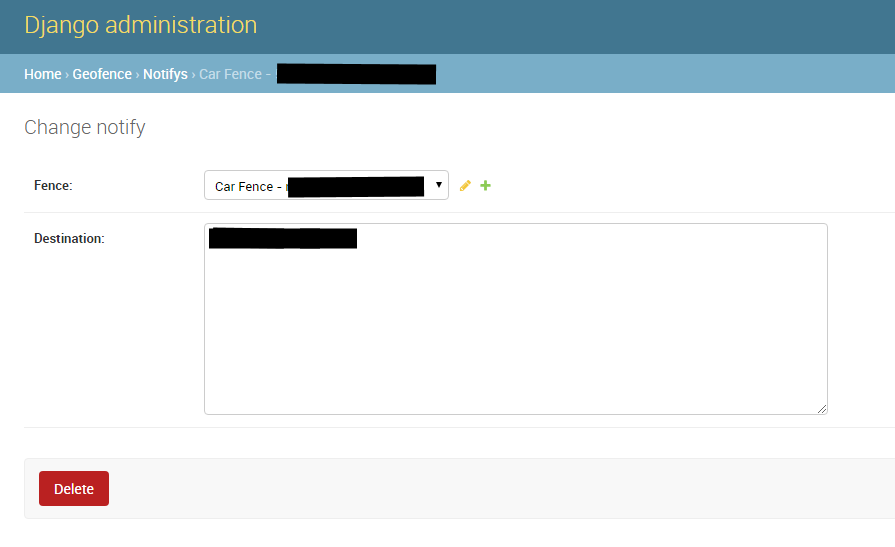
The final objects available for configuration are notify objects. These hold the email address to which the notification should be sent. In my case, I used my mobile carrier's email-to-text message service to send the notifications to my phone. There can be many notify objects for a given fence, so multiple devices or people can be notified for a single event.
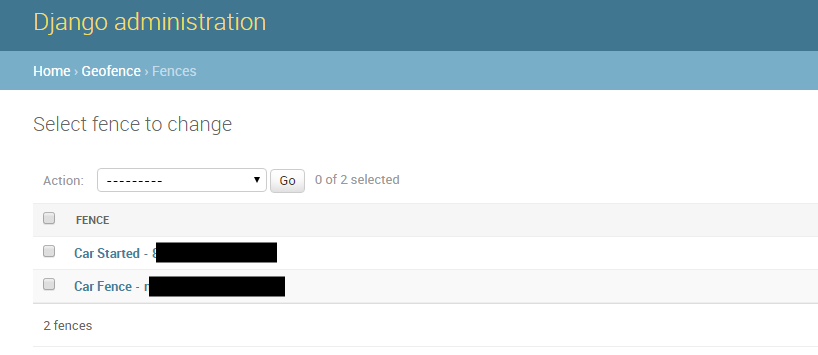
The admin view provides a quick list of all the configured fences and their corresponding secrets, notify objects and their destination addresses, and fence groups with their corresponding secrets.
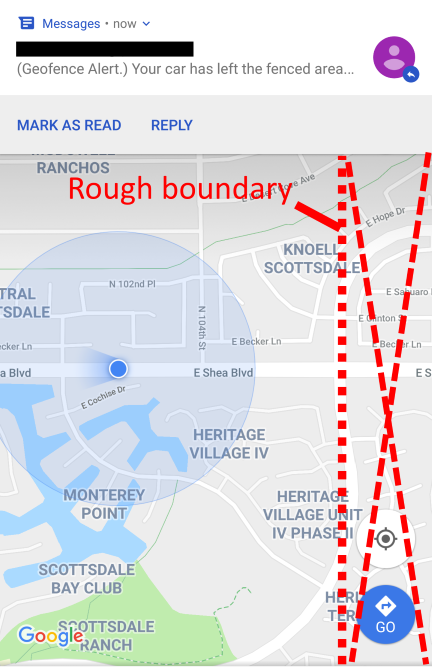
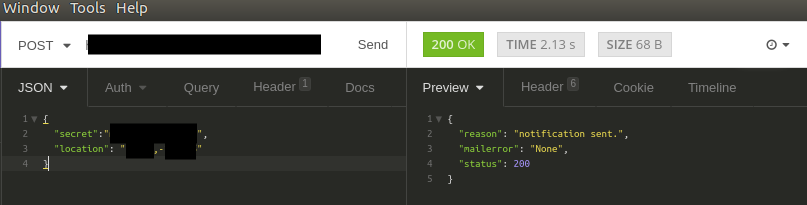
The web service exposes two API endpoints, setenable and trigger. The trigger endpoint is used by a device or sensor to send alerts when necessary. The device must send a secret to identify the fence being triggered. An optional lat/long location string can be provided with the request. This location is formatted into a Google Maps link so the user can open it on his or her device and view the location.
Request and Armed Fence Response:
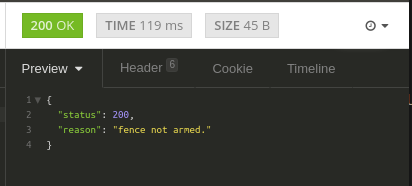
Unarmed Fence Response:
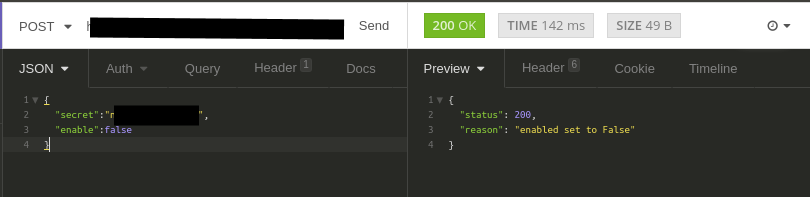
The setenable endpoint is used by the Alexa skill to arm or disarm a given fence group. The request must include the secret to identify the fence group and a Boolean value to assign for the enabled parameter of each fence in the group. Disabled fences will not send notifications when triggered.
I created an Amazon Alexa Skill so a user could arm or disarm his or her fences via voice. For example, as I walk out the door I can say "Alexa, tell geofence disarm" to disable the car alarm. The skill has two intents, "ArmIntent" and "DisarmIntent". Logical utterances like "enable" and "arm" or "disable" "disarm" are used.

The skill calls the setenable endpoint as described above and passes the car fence group secret. This is currently hard-coded, but could easily be changed to a string literal name that corresponds to a fence group; for example: "Alexa, tell geofence enable car". The Alexa skill was written in Java and hosted on Amazon Lambda.

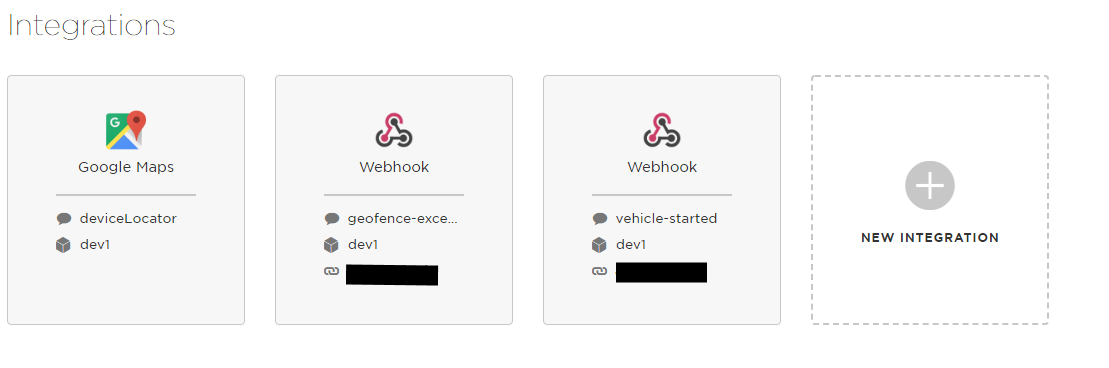
The Particle development kit includes a "cloud" console that allows painless integration with higher-level functions like REST APIs. I'm very happy with the way this abstraction was implemented. Essentially, you define (or choose from a pre-defined "Integration", e.g. the Google Geolocation API) a "webhook" that calls an API with the headers, request type, body etc. that you provide. In turn, the Particle device calls a built-in publish method that invokes the webhook with a simple message passing scheme. I am not typically a fan of the "Maker" oriented features (like Particle's awful code editors or "cloud compilation") but the console was an exception.
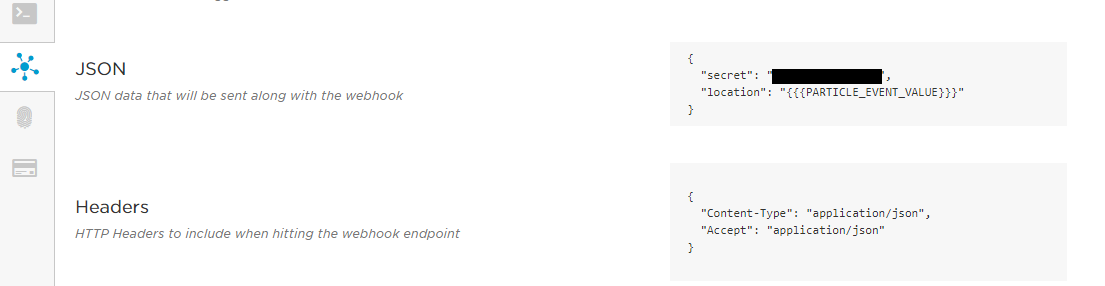
The first Integration I utilized was the Google Geolocation API. The process is as easy as copy-pasting your API key into a form and choosing the devices to enable it for. I then created two custom webhooks that make requests against the trigger endpoint of my API, one for the RPM alert and the other for the geofence.
The latter passes along a simple "lat,long" string that was obtained from the Google Geolocation API.
The electron firmware code was written in C++. It is based on the two example programs, Google Maps Integration and Carloop's Mileage Reminder Example.
The core functionality for the geofence feature is carried out through a periodic location check against the Google Geolocate API Integration:
locator.withSubscribe(locationCallback).withLocatePeriodic(10);
And a callback that checks the resulting longitude and latitude against pre-defined bounds, calling the Geofence webhook if they are exceeded:
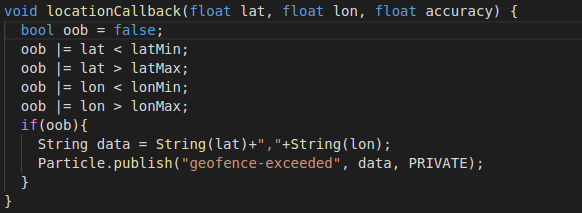
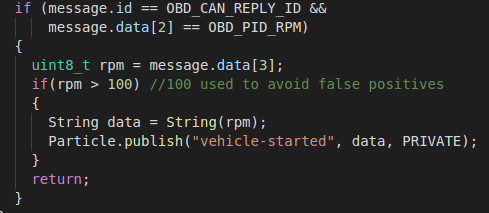
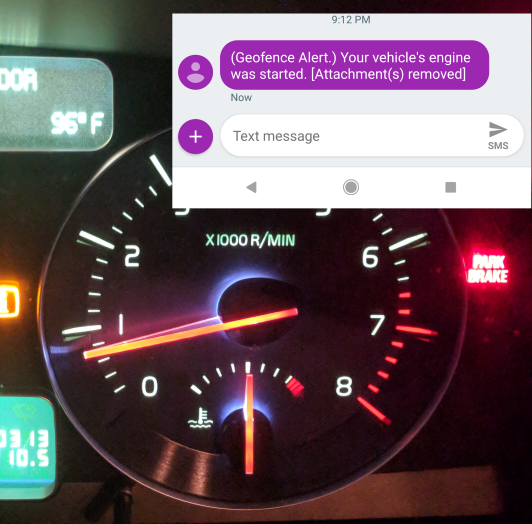
The engine RPM check is handled with a Carloop CAN bus connection, a routine that sends a request for engine RPM and finally a method that awaits the response to the RPM request. If the resulting RPM is non-zero (actually, I used 100 to avoid false alarms), the notification is sent through the RPM webhook.